This shows the table that will be used for the bookshelf. I created this by simply creating a cube, resizing it and adding faces on either edge of the cube. I then entered face mode and extruded the 4 faces downwards, to create the legs.
This image shows the bookshelf. I extruded out a big portion of the table, and added 2 faces into the new cube, which I then extruded inwards to create a shelf. I then made a book by simply creating another cube and extruding it to look similar to a book, and duplicated it many times for the busy bookshelf effect.
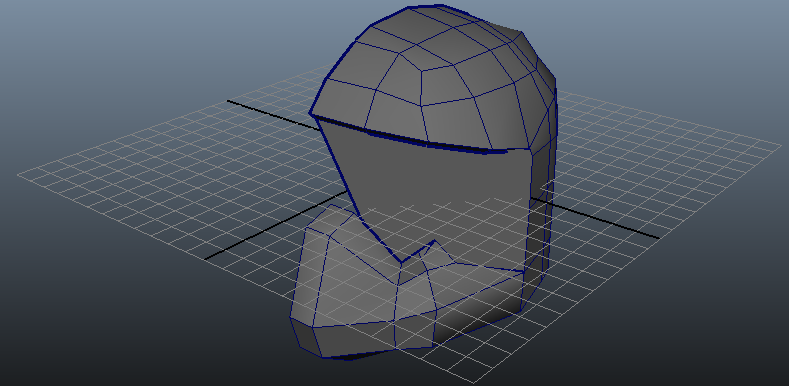
This image shows the wardrobe I created, which will be used at the start of the animation. I made this by creating a cube, resizing it and creating 3 faces on the front of the cube. I then extruded these faces outwards slightly, to create the draws effect. I then created a sphere and resized it, placed it in one of the draws and duplicated it 5 times, for the draw handle effect. The lamo sitting on top of the wardrobe is not mine, I imported it into my document as it is needed for the animation.

This image shows a simple design of a table, and the beginning of a plant pot. I created this table the same way I created my other table for the bookshelf, by creating the cube, rezising it and creating 4 faces on the edges, then extruding those edges for the legs. The plant pot is so far just a simple cylinder, placed on the table to help picture how it would look when the plant has been completed. I might swap the plant idea for another object at the end of the animation, my mind isnt set yet.
This shows the kids room so far, witht he wardrobe, lamp, bookshelf and table. I am missing the office chair, which will be inbetween the bookshelf and the table. I am also missing the floor, walls and roof of the room, which I will add into the document later on.
This image shows the light socket that is used in the animation. Here I have extruded 2 of the 3 faces needed for the socket effect. I then delete the front face, revealling the extruded face.
This image shows the finished design of the light socket.